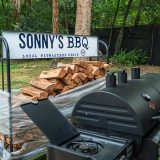

If you can master Texas-style brisket, you can master it all. With this guide, learn how to smoke meat like a pro, with pitmaster-approved tips, seasoning secrets, and slicing techniques for the perfect bark.
Table of Contents
What Makes Texas-Style Brisket Unique
You know that saying: everything’s bigger in Texas. One thing’s for sure, their brisket culture sure is. If you’re an expert at smokin’ Texas-style brisket, you’ll be trusted around any pit in the Lone Star State.
So what makes Texas-Style Brisket? Really, it’s in the rub. You may think of BBQ and the first thing that comes to mind is a slab of St. Louis Ribs slathered in sauce. That’s not the style in Texas. The most common brisket in Central Texas is simple in seasoning: salt and pepper, maybe some garlic. That’s it.
Choosing the Right Brisket
When you head into the store, you’re going to find a lot under the brisket category when checking out the meat section. Sometimes a whole brisket is sold separately as the “point” and the “flat”. If you’re curious as to what that means:
- Point: This contains a lot more marbling, and is generally used for chopped brisket. This is also the cut where burnt ends come from. Just a friendly reminder: they aren’t burnt. They’re very tender and one of the most popular cuts of meat.
- Flat: This is the leaner section of the brisket. At Sonny’s, we use it for sliced brisket.
For this Texas-style brisket recipe, ask or look for a “full-packer beef brisket”.
Prepping Your Brisket
Trimming
Before you grab the knife, take a look at your brisket. On the flat, (the thinner side), you want to leave about a quarter of an inch of fat so it cooks down but remains juicy.
We detail all of these steps in our Tales from the Pit video below, but here are a few things you’ll want to trim once you’re ready:
- “Mohawk”: Look for a small piece that sticks out and almost looks like a skirt steak. That will burn when cooking, so take it off.
- “White Fat”: Take your finger and poke around the brisket, if you run into any white, hard fat, that needs to come off.
- “Deckle”: This is a large piece of white fat between the point and the flat. That also needs to come out as it won’t cook in your smoker.
- “Silver Skin”: This looks like translucent, silvery skin on the brisket. That won’t render down and will result in a odd texture.
Rule #2 of my BBQ Bible: no peaks or valleys. You shouldn’t feel any bumps or dips across your trimmed brisket.
Head Pitmaster Shannon Snell
Seasoning
Next, you’ll want to create a rub, that’s one of the most important parts. Luckily for you, Head Pitmaster Shannon Snell has a three-ingredient recipe that has some things you likely already have in your pantry:
- 1/2 Cup Kosher Salt
- 1/2 Cup Coarse Black Pepper
- 2 Tbsp Garlic Powder
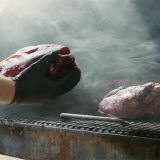
Once that’s done, grab a high-point oil and use just a little of it to coat the brisket. Then, get to seasoning. Friendly reminder: don’t rub the rub in. You don’t want to create any pockets of seasoning that wouldn’t be great to bite into. Just pat it in and make sure to use it all. You’ll need it to create that rich and flavorful bark.
Wood Selection and Smoker Setup
Since brisket is a longer cook, Shannon recommends a pellet smoker for this recipe. It’ll provide a constant source of heat and not force you to babysit a wood-fired smoker all day long.
As for wood, you should pick oak or hickory wood for Texas-style brisket. Both compliment the meat well and provide a wood-fired flavor that is a perfect match for the meat.
Finally, as for your smoker’s temperature: set it to 275°F. Shannon says this is a great home temperature for a lot of cuts of meat, and will guarantee you get perfectly tender brisket.
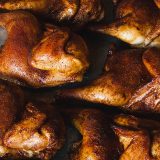
Step-by-Step Smoking Guide
Alright, time to head to the smoker for the best part of the process. Again, check the video below for a more in-depth look, but here’s a step-by-step guide to brisket perfection:
- Place your seasoned brisket on the smoker, cook at 275°F for 2 hours.
- After 2 hours, spritz brisket with water every 30 minutes to lock in moisture.
- After 5-6 hours, it’s time to wrap your brisket.
- You can use butcher paper or foil, but for this recipe, Shannon recommends foil to guarantee a done brisket.
- Place the brisket on sheet of foil/paper and pour 1/2 cup of unsalted beef broth. Wrap very tightly and don’t poke any holes when wrapping.
- Return your brisket to the smoker and cook until brisket reaches an internal temperature of 205°F. You can use a wireless thermometer for this so you don’t have to monitor it as closely as a traditional one.
- Final cook time on a brisket should be 8-9 hours, but make sure to let it rest and cool to an internal temperature of 165°F before slicing. This lets those juices soak back into the brisket.
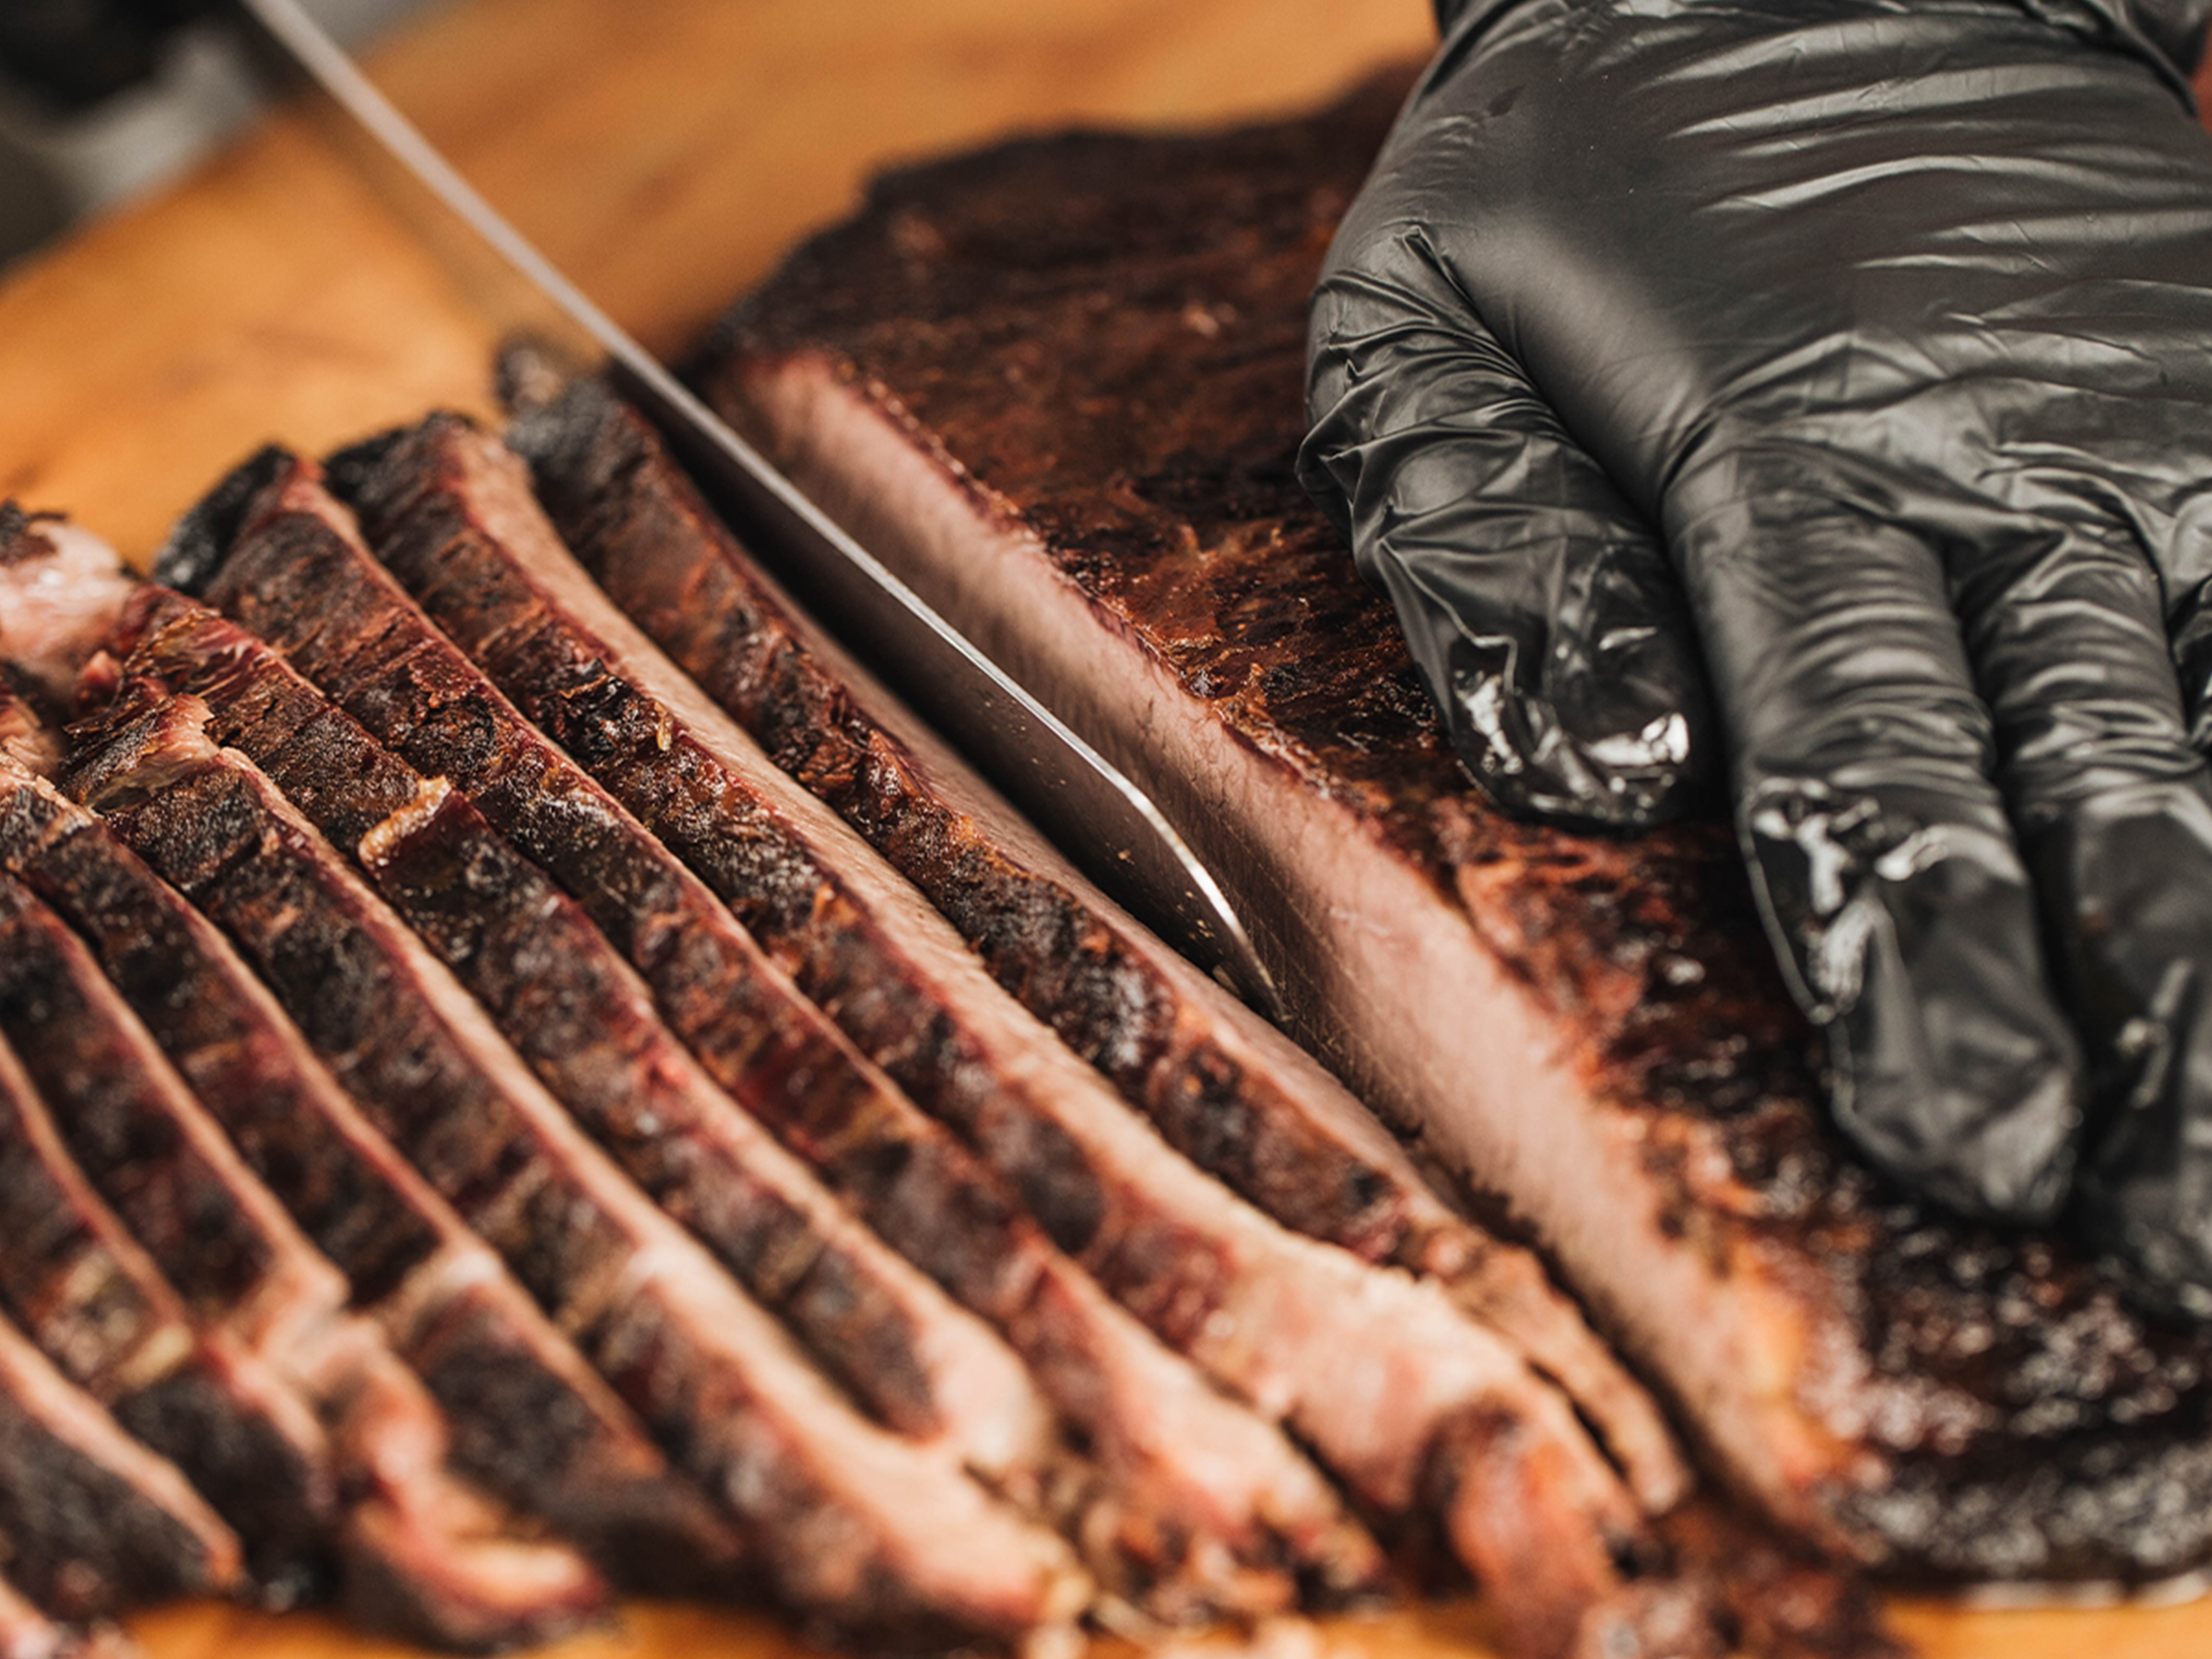
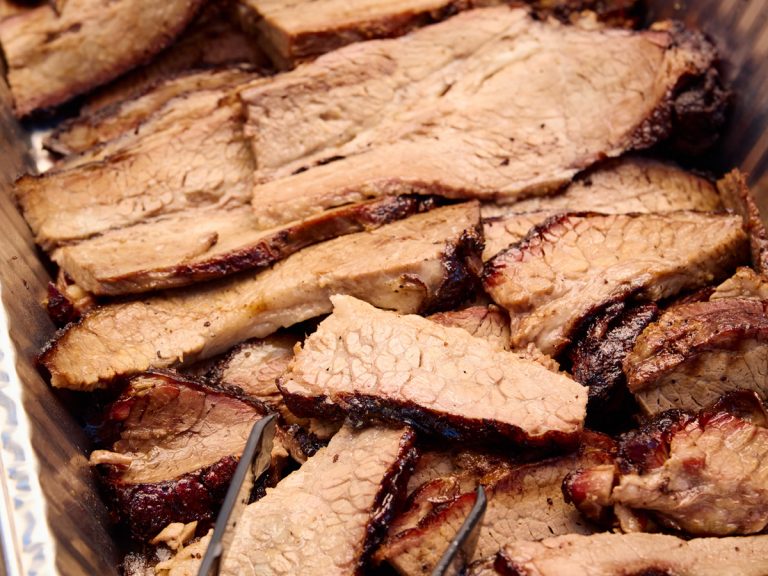
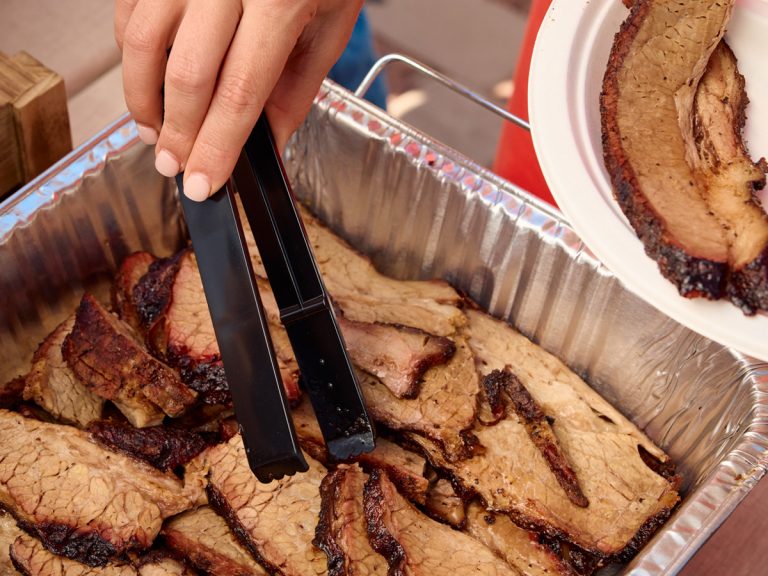
Slicing and Serving like a Pitmaster
Alright, you’re ready to slice, but you don’t know where to start. The best piece of advice Shannon has for you? Cut against the grain. If you cut with the grain, it just won’t be as appetizing. Another tip: start with the flat, it’s much easier to slice and you can get a good rhythm going.
Once you get to the point, dice it into cubes, and you’ve got burnt ends. Easy as that! Toss these in some BBQ sauce to get a party started or serve on a plate with your favorite sides. Whether it’s an appetizer or main course, burnt ends make any plate better.
Common Mistakes to Avoid
The great thing about BBQ, it’s tough to really get wrong. But there are a few mistakes you’ll want to avoid when smokin’ your brisket:
- Over trimming your brisket: As Shannon says, fat is flavor, and some of that will render down and keep your brisket tender and juicy. Some of that fat also helps protect your meat, so it won’t burnt as easily.
- Not wrapping your brisket: Simply put, if you don’t wrap your brisket, it won’t get done very fast at all. You’ll hit what’s called a “stall” in the BBQ business. Basically, your meat is losing a lot of moisture and that’s cooling it down. If keep that moisture locked inside, you can reach that target temperature.
- Not resting your brisket: If you slice your brisket the moment it’s out of the smoker, all of that moisture you worked so hard for will come spilling out. Allowing it to rest means a much more flavorful bite is waiting for you.
Texas-Style Brisket Vocabulary
We threw a lot of industry terms in there, didn’t we? From “stall” to “deckle”, you may need a quick reference for these. Well, don’t worry, we’ve dusted off Shannon’s BBQ Bible for you:
Don’t Want to DIY? Let Sonny’s Handle It
Whew. All of that sounds like a lot of work for Texas-Style Brisket. It’s worth it, but if you want perfectly-cooked brisket every time, let Sonny’s do the smokin’.
We serve sliced and chopped Certified Angus Beef® brisket by the pound, as well as on dinner and lunch plates. Over on our Catering menu, we’ve got platters full of burnt ends that make great appetizers. Not sure how much to order? Check out our BBQ Party Portion Calculator for a quick and easy table to reference.
Whether you’re slow-smokin’ at home or stoppin’ by our pit, you’re one-step closer to Texas-style brisket. We guess you can say: with this guide, there’s no need to risk it for good brisket.